• Skip to main content
  • Skip to after header navigation
  • Skip to site footer
Nordic kitchen stories logo

Nordic Kitchen stories

Inspired by family recipes

  • Home
  • Recipes
    • Baking
    • Breakfast
    • Brunch
    • Cakes
    • Desserts
    • Dinner
    • Drinks
    • Festive
    • Fika
    • Fish
    • Foraged Food
    • Gluten-Free
    • Healthy
    • Lunch
    • Main
    • Nordic
    • Pickling
    • Preserving
    • Salads
    • Sharing
    • Snacks
    • Soups
    • Sourdough Baking
    • Starters
    • Vegan
    • Vegetarian
  • Bespoke Cakes
  • Workshops
    • Sourdough Workshops
    • Nordic Baking Workshop
    • Pastry – Savoury Tarts
  • Work with me
  • Buy my book
  • About

Quinoa and Wholegrain Spelt Sourdough

15th November 2023 by Louise
Quinoa and Wholegrain Spelt Sourdough

In the world of baking, there’s a constant quest for innovative and nutritious ingredients that can elevate the quality and health benefits of our daily bread. One such remarkable addition to artisanal baking is quinoa flour. Renowned for its exceptional nutritional profile and versatility, quinoa flour, derived from the seed of the quinoa plant, introduces a unique twist to traditional Wholegrain Spelt Sourdough Loaf. Here is the eagerly anticipated recipe for Quinoa and Wholegrain Spelt Sourdough.

Understanding Quinoa and WholeGrain Spelt

Quinoa, Contrary to common belief, isn’t a grain; it’s a seed. However, due to its similar uses and nutritional content, it’s often referred to as a pseudo-cereal or pseudo-grain. With nutty undertones and an earthy aftertaste, this ancient superfood, originating from the Andes region in South America. It has gained global recognition for its impressive health benefits and culinary adaptability. It boasts high levels of protein, fibre, and essential vitamins and minerals such as iron, magnesium, and zinc. Notably, quinoa is a complete protein, containing all nine essential amino acids crucial for bodily functions.

On the other hand, Wholegrain Spelt is an ancient grain that has gained popularity for its nutty flavour and nutritional richness. It’s a cousin of wheat but offers a different nutritional composition. Spelt is high in fibre, providing a good source of complex carbohydrates, along with significant levels of protein, B vitamins, and minerals like phosphorus and manganese.

The Health Benefits

  • Rich in Nutrients: When incorporated into sourdough bread, quinoa and wholegrain spelt enhance its nutritional value significantly. The combination of these grains adds a diverse array of vitamins, minerals, and antioxidants to the bread, contributing to overall health and well-being.
  • Improved Digestive Health: Both quinoa and wholegrain spelt are rich in fibre, which aids in digestion and promotes gut health.
  • Enhanced Protein Content: Quinoa’s status as a complete protein and spelt’s protein content make this sourdough a great choice for individuals looking to increase their protein intake. This becomes particularly beneficial for vegetarians and vegans seeking alternative sources of high-quality protein.
  • Boosted Energy Levels: The complex carbohydrates in wholegrain spelt provide a sustained release of energy, making it an excellent choice for maintaining steady blood sugar levels throughout the day. This can contribute to better energy levels and improved endurance.
  • Heart Health: Both grains contain nutrients linked to heart health. For instance, magnesium in quinoa and spelt can help regulate blood pressure, while fibre aids in lowering cholesterol levels, reducing the risk of heart disease.

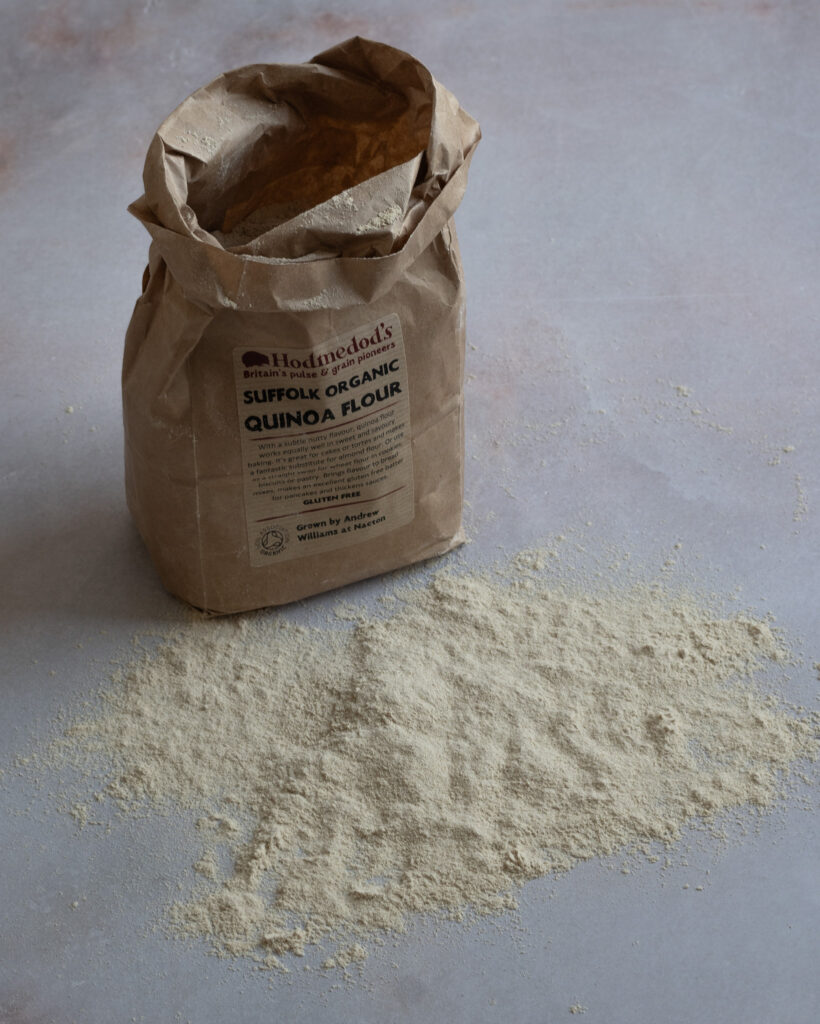
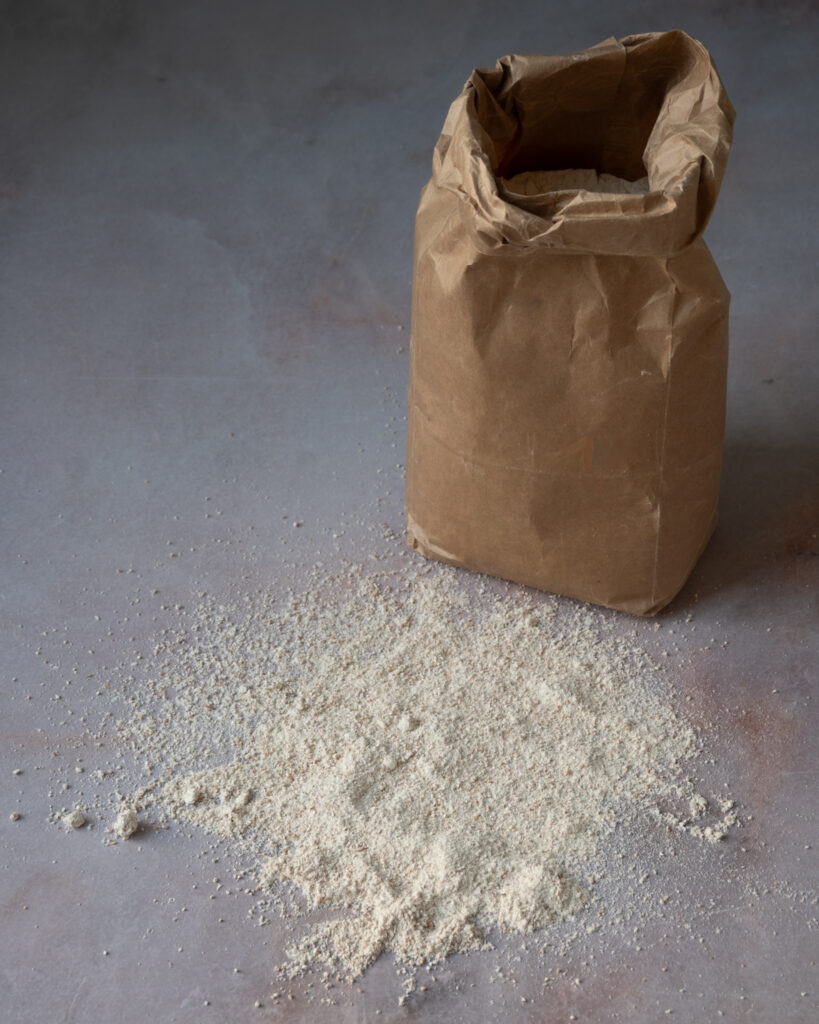
My preference is to use organic flour in sourdough baking. It is free from synthetic pesticides and chemical fertilisers, ensuring a purer, more natural loaf. If you live in the UK, and would like to buy organic quinoa and spelt flour too, you can purchase on line from Hodmedods.

Quinoa and Wholegrain Spelt Sourdough

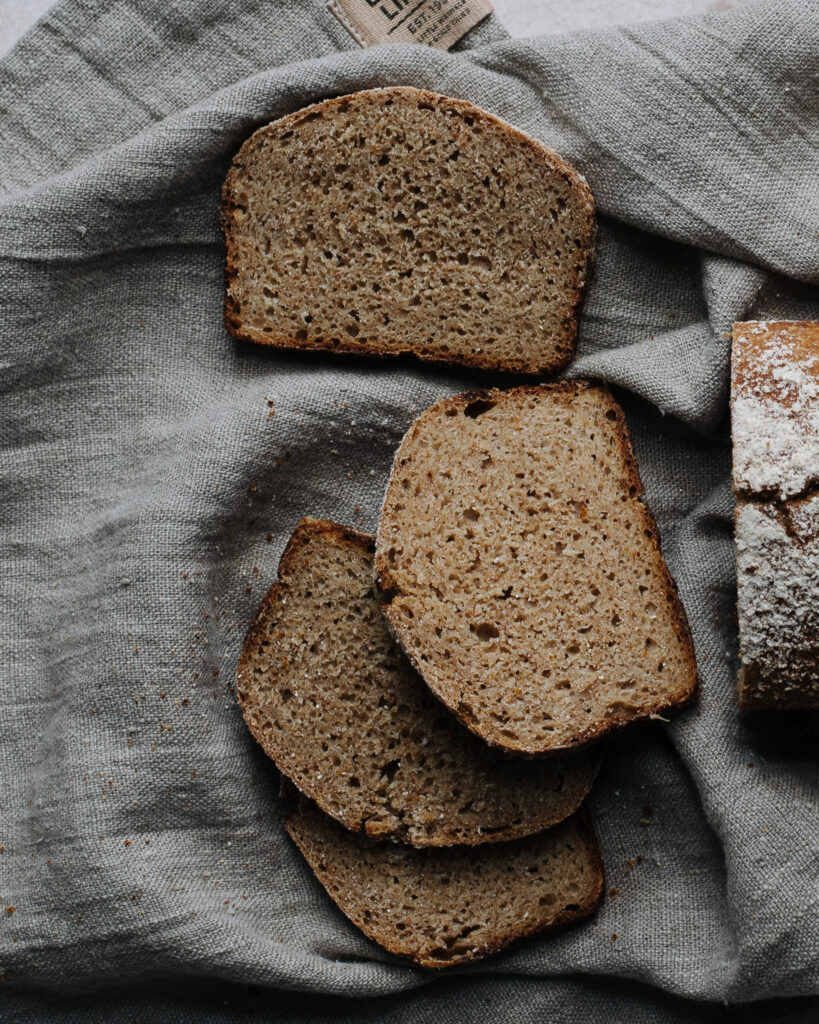
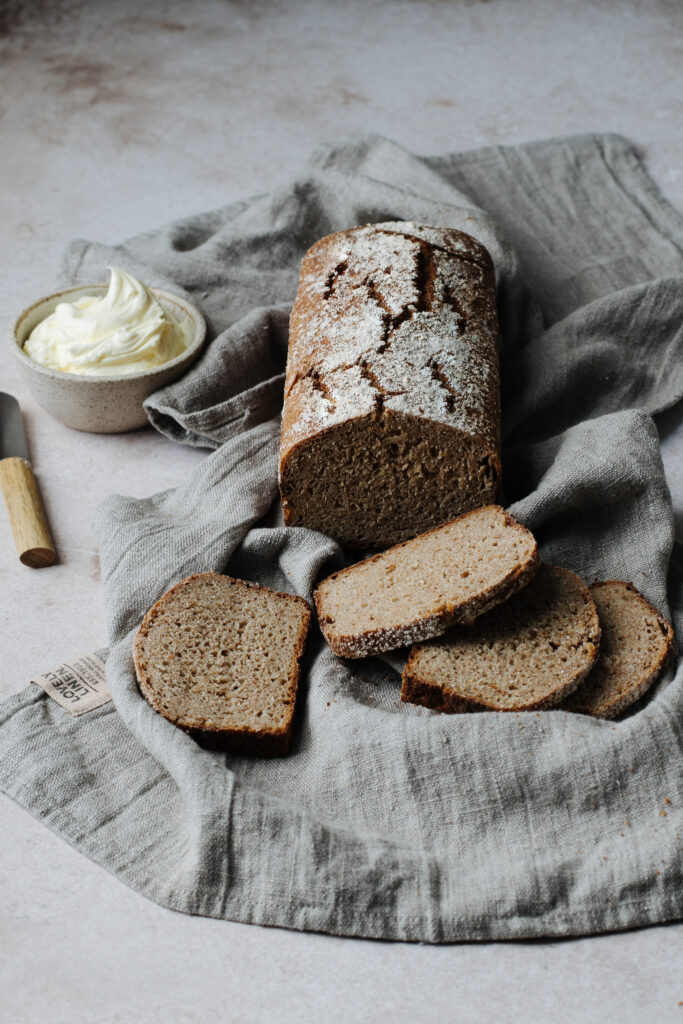
A delicious and nutritious choice. This Quinoa and Wholegrain Spelt Sourdough makes the perfect sturdy base for open sandwiches just like Rugbrød. Enjoying it toasted with a spread, or simply savouring it alongside soups and salads.

DID YOU MAKE THIS RECIPE FOR Quinoa and Wholegrain Spelt Sourdough?

I would love to know how it turned out. Please let me know by commenting below. Or you could snap a photo and share and tag it on Instagram @nordickitchenstories.

Print Recipe

Quinoa and Wholegrain Spelt Sourdough

Discover the perfect blend of nutrition and flavour with my Quinoa and Wholegrain Spelt Sourdough. It's packed with wholesome goodness!
Prep Time2 hours hrs 30 minutes mins
Cook Time45 minutes mins
Proving time12 hours hrs
Total Time15 hours hrs 15 minutes mins
Course: Breakfask/Snack
Servings: 1 Loaf

Equipment

  • Loaf Tin My tin measures 30 x 10.5cm and holds 1.5kg. A slightly smaller tin would give a better shaped loaf ie. 25 x 11 cm

Ingredients

  • 175 g organic quinoa flour
  • 375 g organic wholegrain spelt flour extra for dusting
  • 390 g water, tepid *weigh the water in grams
  • 123 g active sourdough starter doubled in volume
  • 11 g fine sea salt

Instructions

To Begin

  • Place the 2 flours in a large bowl with the salt, stir to combine. No need to autolyse. Mix the water with the active starter, add into the flour and stir with a spoon, then mix with your hand until you have a rough dough. Don’t knead. Leave for 20 minutes.

Bulk Fermentation

  • Now to stretch and fold, this will be done 5 times, with 20 minute intervals. Take a portion of dough in your hand and fold it over into the centre. It will be a little tricky to begin with but as the gluten develops it will become easier. Just take care not to pull the dough too much so it breaks. Cover between each stretch and fold. If your kitchen is cool or draughty, pop it in the oven, (switched off).
  • When you have completed all the final stretch and fold, cover and wait 20 minutes. Turn the dough out onto a spelt floured work surface. Have the bread tin ready, lightly oiled and dusted with spelt flour. Lightly dust your hands and the work surface with flour. Shape into a rectangle, the length of the tin. Shape and stretch the dough so you’re able to fold one long side into the centre, then follow with the other. Pinch in the ends Turn the dough over and place in the tin, so the seam is at the bottom.
  • Now to prove the dough at room temperature. The length of time will depend on the temperature of your kitchen. If it’s below 18°C leave out for 2 hours, then pop in the fridge to prove overnight covered. If your kitchen is between 18C-23C, then prove for 90 minutes. Prove in the fridge for approximately 11-12 hours.

First thing next morning.

  • Preheat the oven 230°C fan
  • If you have a Dutch oven that'll accommodate the tin then use it, otherwise place a deep tin of boiling water in the oven 10 minutes prior to baking the bread.
  • Dust the surface of the loaf lightly with spelt flour and place in the oven. Bake for 30 minutes in the Dutch oven, then remove and bake for a further 8-12 minutes. Otherwise bake for 40-45 minutes, depending on how dark you like your sourdough. Remove from the tin and cool on a wire rack.

Notes

I begin this process at approximately 3pm. Proving time in the fridge is approximately 11-12 hours.

Share this:

  • Click to print (Opens in new window) Print
  • Click to share on Facebook (Opens in new window) Facebook
  • Click to share on X (Opens in new window) X
  • Click to share on Pinterest (Opens in new window) Pinterest
  • Click to email a link to a friend (Opens in new window) Email
Category: Autumn, Baking, Healthy, Sourdough Baking, Spring, Summer, Vegan, WinterTag: baking, fermented, healthy, sourdough
Previous Post:Cod, Coconut, Basil and Lemongrass
Next Post:Wild Garlic Sourdough Flatbread

Reader Interactions

Leave a Reply Cancel reply

Your email address will not be published. Required fields are marked *

Recipe Rating


Happy Easter to everyone celebrating. The Swedish Happy Easter to everyone celebrating.

The Swedish half of me tends to take over in the kitchen at this time of year. Here are just a few of the things I’ve been cooking and baking this weekend — smörgåstårta using home-baked sourdough with savoury fillings. 

An appetiser of whipped cream cheese with fresh grated horseradish and lemon zest, topped with smoked salmon, pickled red onion and cucumber.

And buns filled with forced rhubarb and custard, which I think is a pretty hard combination to beat.

Our magnolia tree is stunning this year too — one of my favourite signs that spring is finally here. Hope everyone’s having a good one 🌷​​​​​​​​​​​​​​​​

#easter #easterweekend #swedishfood #scandinavianfood #homecooking
Now that we’re in wild garlic season this is a spr Now that we’re in wild garlic season this is a spring gratin worth making. You can swap half the potato for celeriac — it brings an earthiness that balances the richness of the cream and the smokiness of the salmon beautifully.

Wild Garlic, Potato & Hot Smoked Salmon Gratin — serves 4

250g hot smoked salmon, flaked
900g King Edward potatoes, peeled & thinly sliced (or swap with 450g for celeriac)
2 leeks, white part only, sliced
2 cloves wet garlic, sliced (or 1 regular clove)
80g wild garlic, roughly chopped
180ml whole milk
245ml whipping or double cream, or crème fraîche
35g mature hard cheese, grated
Butter and olive oil, for sautéing

Preheat the oven to 180°C fan. Sauté the leeks in a little butter and olive oil until soft, then add the wild garlic and wet garlic and cook until the leaves have wilted. Gently heat the milk and cream with 25g of the cheese, whisking until smooth. 

Layer the potatoes, leek mixture and flaked salmon in a baking dish, seasoning lightly between each layer, and finish with a top layer of potato and a few wild garlic leaves. Pour over the cream sauce and scatter with the remaining cheese. 

Cover with foil and bake for 40 mins, then uncover and bake and bake for a further 25-30 mins or until cooked through. Serve with a crisp green salad.

#WildGarlic #SpringRecipes #Gratin #HotSmokedSalmon
I’ve been a little quiet on here lately. Behind t I’ve been a little quiet on here lately.

Behind the scenes it’s been a full season — family needing me, and a steady stream of celebration cakes keeping the kitchen going. The two together don’t leave much space for anything else.

But March has a way of making you look up. The light is back, British Summer Time is almost here, and nature is doing something rather extraordinary this year — the bluebells are out almost a month early. Beautiful and a little baffling. And the wild garlic is here too, which always feels like a quiet celebration of its own.

Glad to be back. Tell me — what have you been up to?

#CelebrationCakes #WildGarlic #ForagingUK #BluebellSeason 
#BritishSummerTime
A Spanish tortilla of sorts 🍳 Gorgeous rainbow ch A Spanish tortilla of sorts 🍳

Gorgeous rainbow chard and a good grating of hard cheese makes this anything but traditional.

The key is taking your time with the potatoes and onion, frying them low and slow in a generous amount of olive oil for at least 25 minutes before the chard and garlic go in. Don’t rush it.

I used 7 eggs but on reflection 8 or 9 would’ve been better for my pan. 

Perfect for weekend brunch or a proper sit-down lunch, I love it with quick pickled red cabbage and a green salad. Simple, colourful and so good.

#spanishtortilla #tortilla #rainbowchard #hardcheese #weekendeggs
New dates added for April and May. Tap on the link New dates added for April and May. Tap on the link in my profile for more information.

#workshop #buckinghamshire #sourdough baking #learnsomethingnew
I’d almost forgotten how satisfying it is to make I’d almost forgotten how satisfying it is to make your own yogurt. A surplus of milk from the milkman this week gave me just the reason I needed to get back into it.

One of the simplest things to make. All you need is 1 litre of whole milk, (semi-skimmed will work but whole milk gives you a thicker and creamy yogurt) 1 tablespoon of skimmed milk powder, and 2 tablespoons of live yogurt to get things going.

Heat your milk to 85°C, let it cool down to 40-45°C, stir in the yogurt, pour into sterilised jars and keep it at that same temperature if you can for 6-8 hours.

If you’d like Greek style yogurt, just strain through a muslin.

#homemadeyogurt #yogurtmaking #fromscratch #milkman #greekyogurt
Nordic kitchen stories logo

Sign up to receive my latest recipes by email

Copyright © 2026 · Louise Hurst · Privacy Policy · All Rights Reserved · Website by Callia Web