• Skip to primary navigation
  • Skip to main content
  • Skip to primary sidebar
  • Skip to footer

Nordic Kitchen stories

Inspired by family recipes

  • Home
  • Recipes
    • Baking
    • Bread & Buns
    • Breakfast
    • Brunch
    • Cakes
    • Canapés
    • Desserts
    • Dinner
    • Drinks
    • Festive
    • Foraged Food
    • Fika
    • Fish
    • Healthy
    • Lunch
    • Main
    • Meat
    • Pickling
    • Preserving
    • Scandinavian
    • Snacks
    • Sourdough Baking
    • Soups
    • Starters
    • Vegan
    • Vegetarian
  • Bespoke Cakes
  • Workshops
    • Sourdough Baking Workshop
    • Nordic Baking Workshop
  • Photography
  • About

How to make a sourdough starter

5th May 2020 By Louise 2 Comments

White sourdough starter

White sourdough starter, about to be fed.

Making a sourdough starter is not at all complicated, it just takes a little time and patience.

White sourdough starter

White leaven, ready to bake with.  If you drop a teaspoon of this leaven in a glass of water it should float, indicating it’s ready to use.

Below you can find a step-by-step guide on how to make a sourdough starter.  In general I use a dark rye starter for my everyday bread, I really like the flavour however I do always have a white starter on the go.  I use this for pizza, focaccia and ciabatta.

* It’s worth noting that a wholegrain starter or a combination of wholegrains and white flour will take less time to mature because the microbes have more nutrients to feed from than with just white flour.

White sourdough starter
Print Recipe

How to make a sourdough starter

Ingredients

  • 100 g strong white or dark rye or equal quantities of white and wholemeal flour
  • 100 g water room temperature

Instructions

DAY 1: MAKING THE STARTER

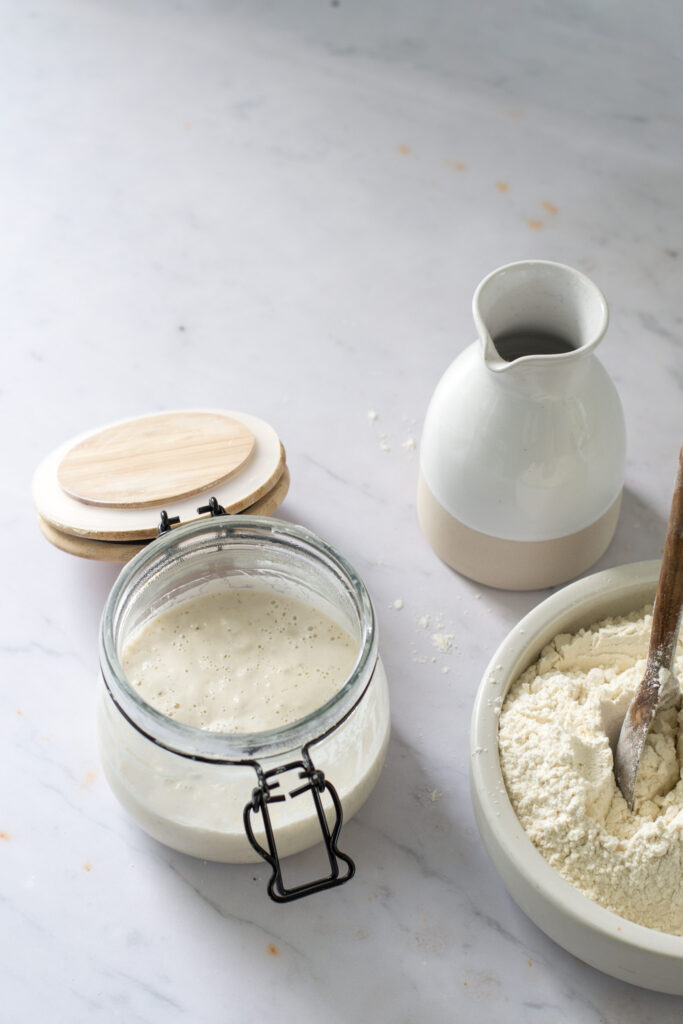
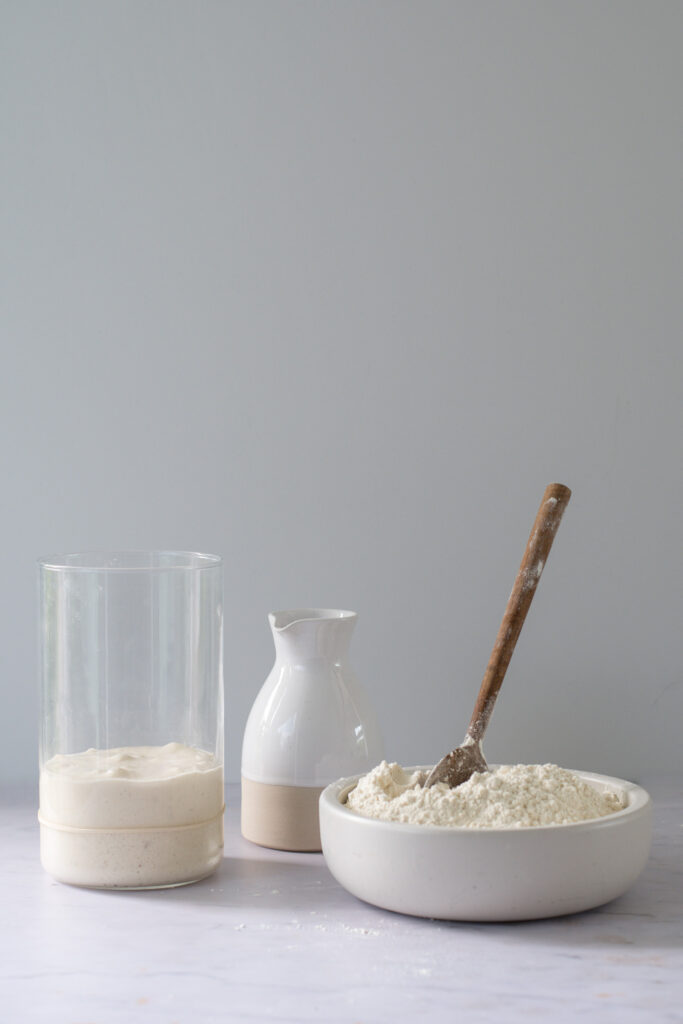
  • Combine the flour and water in a large jar.
  • Mix with a spoon until smooth; the consistency will be thick and pasty. Cover loosely with a tea towel and leave it in a warm place, about 23-24C, for 24 hours.

DAY 2: ANY BUBBLES?

  • Today check your starter to see if any small bubbles have appeared on the surface.
  • Bubbles indicate activity and fermentation, this is what you want!
  • It’s okay if you don’t see anything; the bubbles might have appeared and dissolved overnight.
  • You don’t have to do anything else at the moment. Rest the starter in your warm place for another 24 hours.

DAY 3: FEED YOUR STARTER

  • Whether bubbles are visible or not, it’s time to start the feeding process.
  • To begin, remove and discard approximately half of your starter from the jar. The texture will be very stretchy. (if it's a white flour starter)
  • Add 50g flour or equal quantities of the white and wholemeal and 50g of water. Mix with a spoon until smooth. The texture should resemble a thick-ish batter. (thicker if you're using just rye flour).
  • Cover loosely, and let sit in your warm place for another 24 hours.

DAYS 4, 5, & 6: KEEP FEEDING

  • Repeat the feeding process outlined on Day 3: Remove and discard half of the starter, and feed it with 50g flour and 50g of water.
  • As the wild yeast begins to develop, your starter will rise, bubbles will form on the surface and throughout the culture.
  • When the starter falls, it’s time to feed it again.

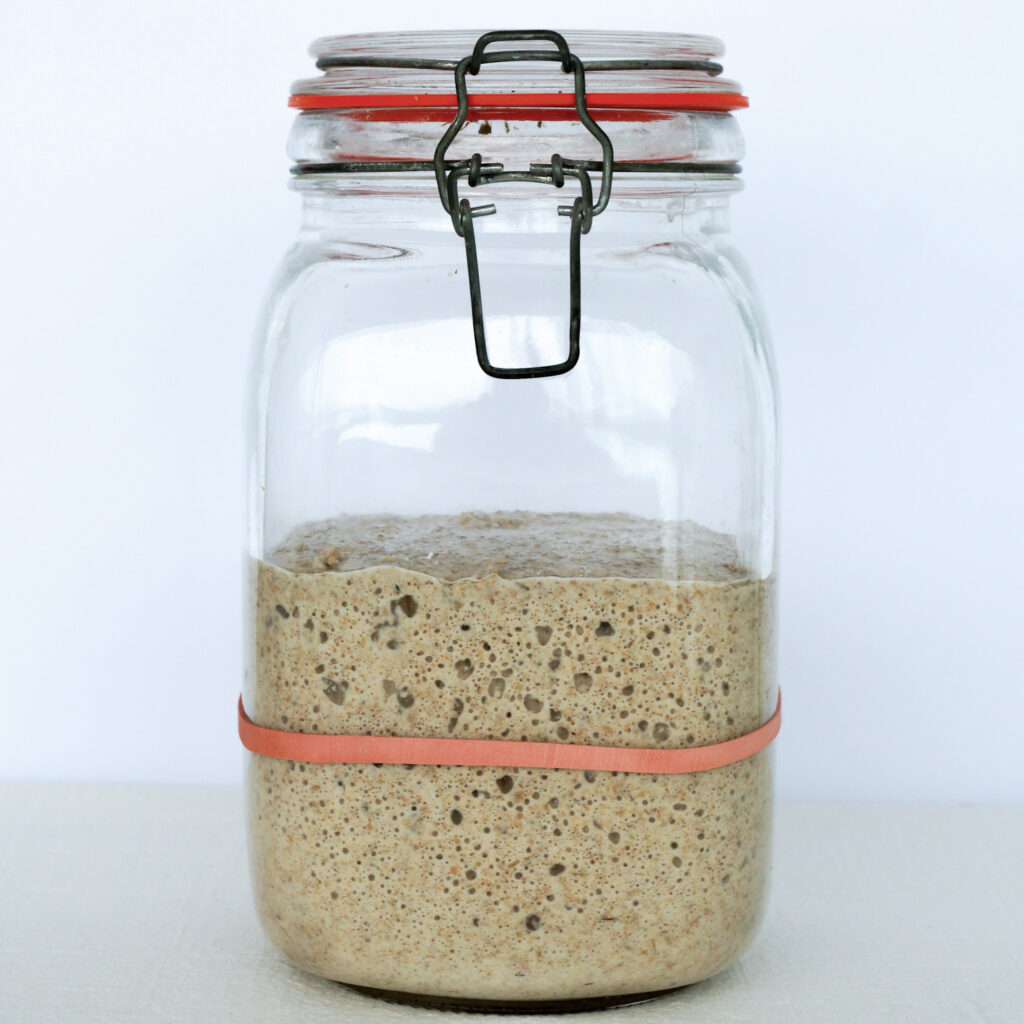
DAY 7: NOW YOU HAVE A SOURDOUGH STARTER

  • By now, your sourdough starter should have doubled in size.
  • You should see plenty of bubbles, both large and small. The texture will be spongy and fluffy. It should also smell pleasant, fruity and slightly alcoholic.
  • If these conditions are met, your starter is now active and ready to use!
  • Please bare in mind, if your starter is not ready at this point, which is quite common (the room temperature might be too cool and the wild yeast might need more time to grow etc.), continue to feed it for one to two weeks or more. A little patient is needed as everyones environment is different.
  • As long as your starter is bubbly and it has doubled in size, you’re ready to go.

Q and A

Q – My starter has a dark brown liquid on the surface, is that okay? 

A – Yes that’s fine, this is called the ‘hooch’ and it’s absolutely normal, just stir it into the starter.

Q – Where should I store my starter when it’s ready?

A – Store your starter in the fridge, feed once or twice in a week to keep it active.  This is called a maintenance starter or ‘mother’.  From this you can make a leaven.  Always have approximately 200g of starter on the go. When you’re ready to feed, discard half and then mix in 50g each of flour and water.  Mark with an elastic band or a pen.  When the starter has risen a little past the line, pop it in the fridge.  It will continue to rise in the cooler environment.

Q – It seems wasteful to discard starter or can I use it?

A – Yes you can, you can make all manner of things. Pancakes, waffles, brownies and knäckebröd (Swedish crispbread). The possibilities are endless.

Q – What is a leaven?

A – Essentially a leaven is the same as a starter. When you wish to bake, take a tablespoon (25g) of your active maintenance starter (that’s been fed in the last 2 days) place in a bowl or jar and mix in 100g each of flour and water. Cover and wait for it to double in size now it’s ready to bake with (or when it has grown by a third, put it in the fridge, it will be ready to bake with at your convenience the next day).  This will make 225g leaven, enough for 2 rustic white loaves.

Rye sourdough starter

Rye sourdough starter – This starter is far less elastic as it’s lower in gluten.

Share this:

  • Print
  • Facebook
  • Twitter
  • Pinterest

Filed Under: Baking, Sourdough Baking Tagged With: baking, sourdough starter, wild yeast

Previous Post: « Sea Bass, Lemon Roasted New Potatoes & Fennel
Next Post: Dehydrated Sourdough Starter »

Reader Interactions

Comments

  1. Lindsay

    5th May 2020 at 10:07 pm

    What makes this sourdough?

    Reply
    • Louise

      6th May 2020 at 1:21 pm

      A starter is just a combination of water and flour which then ferments and collects a bacteria called lactobacilli from the atmosphere. This is called wild yeast.

      Reply

Leave a Reply Cancel reply

Your email address will not be published. Required fields are marked *

Recipe Rating


Primary Sidebar

About Louise

Hej, I'm Louise, a food enthusiast living in Marlow, Bucks, UK. Welcome to my culinary adventures in my Nordic Kitchen. Read More

Contact Louise

Topics

  • Facebook
  • Instagram
  • Pinterest

Newsletter

Please subscribe to receive all new recipes by email.

Latest posts

Wild Garlic and Crab Ravioli

1st April 2022

Charred Cabbage with Cauliflower, Miso puree.

Charred Cabbage with Cauliflower, Miso Purée

16th March 2022

Braised duck with Spiced Barley

Braised Duck Legs with Spiced Barley

27th February 2022

Swedish Sourdough Skorpor - (Rusks)

Swedish Sourdough Skorpor – (Rusks)

25th January 2022

Coconut and Spinach Dhal

Coconut and Spinach Dhal

20th January 2022

Footer

Follow Me on Instagram

As much as I love holidays and eating out, I do cr As much as I love holidays and eating out, I do crave a home cooked meal when I return. Lots of veg here, with a spicy peanut sauce (I add the juice of a lime to this to cut through the richness). This sounds complicated to make but it’s actually quite simple. 

Shiitake & Broccoli Satay, Peanut Sauce.

150g shiitake mushrooms
200g tenderstem broccoli 
3 Tbls soy sauce
1.5 Tbls lemon juice
1 clove garlic, minced
1 tsp minced ginger

130g red cabbage, shredded
Fine sea salt
1 Tbls white wine vinegar
 a handful beetroot leaves (because they were in my fridge & needed eating)
75g crunchy peanut butter
2 Tbls soy sauce
1 lime
1/4 tsp nutritional yeast
A good pinch chilli flakes
1 tsp runny honey
1 small clove garlic, minced

Served with 
Pre-blended Brown basmati, Camargue & wild rice blend. 

Begin with marinating the mushrooms & broccoli. Set to one side for 15 mins.
Place the cabbage in a bowl, season with salt and vinegar, massage and set to one side for 15 mins.
Place the peanut butter in a bowl, add the soy sauce, lime juice, chilli flakes, garlic and nutritional yeast, stir. Add 20-30 ml boiling water or until you have a runny emulsified sauce.

Sauté the mushrooms and broccoli on a high heat with the marinade in a frying pan with a tablespoon or so of water for 2-3 minutes. Tip into a warm bowl and cover.
Now briefly stir-fry the cabbage for 1-2 mins, then add the beetroot leaves, if using.
Spread the satay sauce on the plate. Add the cooked rice, then the vegetables. Top with chopped nuts and toasted seeds.
I’m writing this post from the beautiful city of I’m writing this post from the beautiful city of Porto, we are enjoying a few days stay. It feels so good to travel again. I’ve shared on stories our incredible meal @semea last night. But here’s a dish I made before we left…

This dish is a wonderful summer meal. The salad is also delicious in its own right or with chicken. I make it in advance, adding the beans when I am ready to serve. You can play around with the quantities and could add crumbled feta, or seeds and nuts etc.

Miso Salmon with pickled shallot & Chilli

2 salmon or sea trout pieces
2 tsp white miso
2 tsp runny honey
2 tsp Japanese soy sauce
2 tsp rice wine vinegar 
1 small clove garlic, minced
1 tsp minced ginger 

Combine all of the above and marinate the salmon/sea trout for 20 minutes before cooking.
Heat the oven or Airfryer to 180C and bake for 5 mins in the Airfryer or 8-10 in the oven. Grill for 1 minute to caramelise. (Or could be BBQ’d)

Fennel & Bean Salad
1 bulb fennel, very finely sliced, (I used a mandoline)
A handful French beans, blanched
Broad beans, podded and skinned

Dressing
1 tbls Lemon juice
1 tsp White wine vinegar 
3 Tbls Rapeseed oil
1 small clove garlic, minced
Fresh parsley leaves

Pickle 1 finely sliced chilli & shallot in 2 Tbls rice wine vinegar, 1 1/2 tsp sugar & 1/4 tsp salt.

In a small saucepan heat 1 tbls of the rapeseed oil and add the minced garlic, sauté on a low heat. Pour into small bowl and add the remaining garlic oil, vinegar, lemon juice and season. Add to the salad ingredients and toss.
One from the weekend, (you might have seen it on m One from the weekend, (you might have seen it on my stories) a 40th birthday cake for the lovely Ruth, looked as if she had a gorgeous weekend celebrating.

Fresh flowers from @maxwellandwebbpotager
I don't really know what to eat at the moment. Tod I don't really know what to eat at the moment. Today was supposed to be sunny but it seems almost cool enough for something warm for lunch - However I just gathered salad leaves & herbs from the veg patch in the rain, so salad it is.
Griddled Asparagus, raw courgette, peas, broad beans, salad leaves & herbs all dressed in Honey, Lemon & EVOO. Not forgetting the Honeyed Halloumi.

Heavenly heatwave next week…maybe?!
Remember I made lilac sugar last week? Well here’s what I did with it…
Lilac Madeleines, a post gardening teatime treat!

Lilac Madeleines

🌸Lilac Sugar
2 handfulls lilac blossoms, little stems removed
200g caster sugar
In a large jar alternate pouring the sugar and the petals into it. Seal the jar & place it in a cool, dark place for several days. Shake every couple days for 1-2 days.

Madeleines 
2 free-range eggs 
100g Lilac sugar
100 plain flour, plus extra for dusting
100g butter, melted & cooled slightly + extra for greasing
zest of a lemon 
¾ tsp baking powder

A handful unsalted pistachios, blitzed
Lemon juice
Icing sugar

Preheat the oven to 180C fan. Brush the madeleine tray with melted butter then shake in a little flour to coat, tapping away the excess.

Whisk the eggs & the sugar together in a bowl until light & frothy. Fold in the remaining ingredients. Leave to stand for 15 mins before pouring into the madeleine tray.

Bake for 8-10 minutes, or until the mixture has risen a little in the middle and is fully cooked through. Cool the madeleines on a wire rack.  Mix some icing sugar with lemon juice to make a thin glacé icing. Dip the Madeleine in the lemon icing, then the blitzed pistachios.

Best eaten within an hour of baking 😀
With delicate, pure white bell-like flowers, Lily With delicate, pure white bell-like flowers, Lily of the Valley tells us that summer is on the way. The scent is gorgeous but all parts of this plant are poisonous. 

It’s one of my favourite May flowers and supposedly symbolises happiness. What’s your’s?

Copyright © 2022 · Nordic Kitchen stories | Cookie Notice | Website by Callia Web