• Skip to main content
  • Skip to after header navigation
  • Skip to site footer
Nordic kitchen stories logo

Nordic Kitchen stories

Inspired by family recipes

  • Home
  • Recipes
    • Baking
    • Breakfast
    • Brunch
    • Cakes
    • Desserts
    • Dinner
    • Drinks
    • Festive
    • Fika
    • Fish
    • Foraged Food
    • Gluten-Free
    • Healthy
    • Lunch
    • Main
    • Nordic
    • Pickling
    • Preserving
    • Salads
    • Sharing
    • Snacks
    • Soups
    • Sourdough Baking
    • Starters
    • Vegan
    • Vegetarian
  • Bespoke Cakes
  • Workshops
    • Sourdough Workshops
    • Nordic Baking Workshop
    • Pastry – Savoury Tarts
  • Work with me
  • Buy my book
  • About

High Hydration Sourdough Loaf

21st May 2021 by Louise
High Hydration Sourdough Loaf

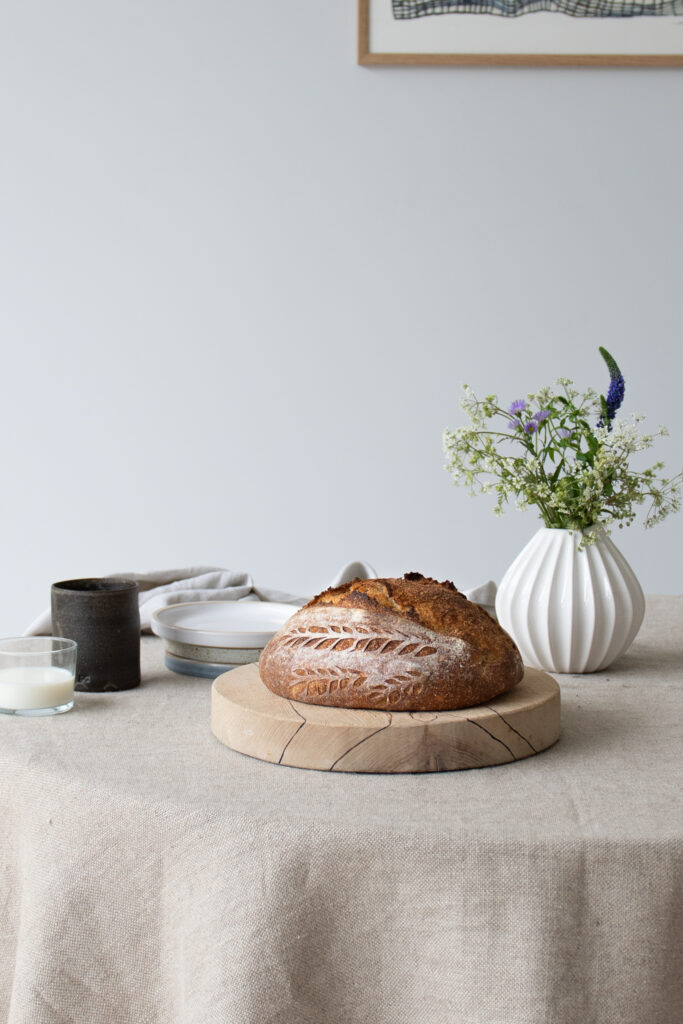
This is my favourite rustic white sourdough loaf, with just the right amount of whole grains to give it the perfect balance of flavour. 

If you’ve been baking sourdough for a while and want to achieve really lovely airy loaf with an open crumb then this is the recipe for you.

Here are a few pointers before you start to bake:

STARTER – LEAVEN

Refresh your starter – do this once or twice a week, this keeps all the microbes active and happy.  From your starter you will make a leaven. In this loaf I use 110g, therefore I take 15g active starter and add 50g each of dark rye flour and water.  I leave it out in my kitchen until it’s grown just above the marked line, then I place it in the fridge to grow slowly, it’s then ready to use the following day. 

Leaven - ready to use
Leaven – ready to use

AUTOLYSE

To autolyse is a step at the beginning of the baking process where only the flour, water and leaven are mixed together NOT kneaded. This will trigger enzymatic activity in the dough and aids the flour to fully absorb the water. It also increases its extensibility (the ability for the dough to stretch out without tearing).

BULK FERMENTATION

Bulk fermentation is the dough’s first rise. This takes place after mixing the autolysed dough and salt. During this time, fermentation continues in the dough as bacteria and yeast (from the leaven) begin to establish organic acids and alcohols.  Also, this is the period when you give the dough further strength through stretching and folding.

PROVING

The prove is the dough’s final rise. I routinely prove my dough in the fridge, this is called a ‘retarded’ ferment. During this time, the shaped dough continues to ferment, further strengthening the dough and leavening it.

Here is how you calculate the percentage of water in a sourdough loaf:

Simply take the total weight of the water, divide it by the total weight of the flour, and multiply it by 100. (including the leaven)

So for this recipe:

Total weight of flour = 545g

Total weight of water = 445g

This loaf has 82% hydration


I hope you like this loaf as much as I do and I’d love to hear from you if you’ve made it.  Happy baking!

High Hydration Sourdough Loaf
Print Recipe
5 from 4 votes

High Hydration Sourdough Loaf

A step-by-step recipe and video for making a high hydration loaf.
Keyword: fermented,, sourdough,
Servings: 1 Loaf

Ingredients

  • 420 g strong organic white bread flour
  • 50 g strong organic wholemeal flour
  • 30 g organic dark rye flour
  • 110 g leaven made from active starter
  • 390 g water
  • 10 g fine sea salt

Instructions

Autolyse.

  • Place all 3 flours in a large bowl, stir to combine.
  • Mix 340g of the water with the prepared starter, then mix into the flour with a fork, then with your hand until you have a rough dough. Don’t knead. Leave to autolyse for 30 minutes.

Bulk Fermentation

  • Once autolysed add the salt with a little of the remaining water, work it into the dough, it will immediately stiffen. Then proceed to add 2 thirds of the remaining water, a little at a time. Leave some of the water for the stretch and fold stage. Leave to rest for 20 minutes.
  • Add a few drops of water and stretch and fold 4 times, with 20 minute intervals.
  • When you get to your final stretch and fold, leave again for 20 minutes to rest.
  • Uncover and pre-shape the dough.
  • Leave uncovered on the work surface for 20 minutes. Have your banneton basket ready, lightly dusted with flour. Lightly dust your hands and work surface with flour. Follow the video for shaping. If your kitchen is more than 23°C put the shaped dough straight in the fridge to prove overnight. If it’s below 18°C leave out for 45-90 minutes, then pop in the fridge to prove overnight uncovered.

Next morning.

  • Place your cloche or casserole in the oven. Heat the oven 230°C fan for at least 30 minutes.
  • Score the dough and put it straight in the oven, bake for 40 minutes. Remove the lid and bake for a further 8-10 minutes, depending on how dark you like your sourdough. leave to cool on a wire rack.
  • Store wrapped in a waxed cloth or linen tea-towel.

If you’re new to sourdough baking then this probably isn’t the best place to start.  A dough with less water content will be much easier to work with.  You can find a video here for guidance.

Share this:

  • Click to print (Opens in new window) Print
  • Click to share on Facebook (Opens in new window) Facebook
  • Click to share on X (Opens in new window) X
  • Click to share on Pinterest (Opens in new window) Pinterest
  • Click to email a link to a friend (Opens in new window) Email
Category: Autumn, Baking, Healthy, Sourdough Baking, Spring, Summer, Vegan, WinterTag: baking, gut friendly, sourdough starter
Previous Post:Wild Garlic and Nettle TartWild Garlic & Nettle Tart
Next Post:National Sweden Day CupcakesNational Sweden Day Cupcakes

Reader Interactions

Comments

  1. matt jones

    1st June 2021 at 10:18 am

    5 stars
    Very interesting. I will try this out tomorrow! Thanks

    Reply
    • Louise

      1st June 2021 at 9:14 pm

      Glad you think so, I’d love to hear How it turns out.

      Reply
      • matt jones

        4th June 2021 at 3:00 pm

        Hi again, well it turned out pretty well, if I do say so myself. Here’s a pic
        https://photos.app.goo.gl/5aasTjR4DXNq9g2L7

        The only thing I did notice from your video, your dough seems a lot more elastic(?). When I was stretching I had to restrain the bulk of the dough whilst pulling one of the corners. If I hadn’t done that, the whole thing would have lifted out of the bowl. I guess mine was much ‘stiffer’ dough and yours seems much more elastic.

        Thanks

        Reply
        • Louise

          4th June 2021 at 3:03 pm

          I don’t know where you live or what brand of flour you use but the protein levels will vary and this will have a bearing on the outcome of the loaf. Maybe try adding a little more water next time.

          Reply
  2. Matt Jones

    1st July 2021 at 9:28 am

    Hi, I have a query! In the recipe, you say if kitchen temp is below 18, leave for 45 to 90 mind before putting in fridge, or straight into fridge if 23. Question is, what are you looking to happen before putting into fridge? There’s quite a range of times and temps. Should you expect the dough to rise a bit out start rising?
    Thanks

    Reply
    • Louise

      1st July 2021 at 9:37 am

      Hi Matt, you’re looking for a little activity, that said, if you’re starter is really active you can put if straight in the fridge, it may just take a little longer to prove. I normally bake around 7.30am after proving in the fridge for approx 13.5 hours. Hope that helps.

      Reply
  3. Darren

    30th November 2021 at 9:10 am

    5 stars
    I’ve commented on the YouTube video but wanted to repeat it here as its worth repeating and as there are so many recipes and methods out there it can be very confusing for those wanting to get into baking sourdough.
    This has been my go to recipe/method since I found it and I get amazing results every time – I often modify the prove and bake to use a loaf tin instead of a Dutch oven for a softer more ‘usable’ everyday bread.
    The video and accompanying recipe really deserve way more views and your site/page design also sets is a great example of how you should create and present content.

    Reply
    • Louise

      30th November 2021 at 3:34 pm

      Hi Darren,
      I really appreciate you taking the time to comment, not only on here but also on YouTube…thank you! I too occasional pop the dough in a sandwich tin, and yes it’s a very different loaf, great for toasties and Swedish Smörgåstårta.

      Reply
  4. Janet

    15th November 2022 at 8:28 pm

    5 stars
    Wonderful recipe and helpful video. I made it this week and it turned out great!

    Reply
    • Louise

      16th November 2022 at 10:49 am

      I’m so happy to hear this Janet. Thanks for taking the time to comment.

      Reply
      • Inga

        9th January 2023 at 4:47 pm

        5 stars
        Hi, Louise
        Have tried many of your recipes, and they are now my family favourites. Thank you for sharing them and providing very helpful guidance.

        Have recently made the bread using this recipe, it turned out well.
        Have one question though – the bread did not rise that much in the fridge during the fermentation stage, so I kept it in the kitchen for a few hours before baking. Is there something I should do differently next time perhaps?

        Thank you

        Reply
        • Louise

          9th January 2023 at 5:36 pm

          Lovely to hear Inga!

          You mention you proved the dough in the fridge, overnight, as per the recipe, or for a shorter time? How did the sourdough turn out? Sorry lots of questions, I just need to understand exactly what you did so I can help you.

          Reply
  5. Kris

    23rd March 2024 at 10:25 am

    Would love to try a new more advanced sourdough recipe. My flour where I live (Estonia) is 13,2g protein. Do you think that would be enough to carry such a high hydration?

    Reply
    • Louise

      23rd March 2024 at 6:07 pm

      Hi Kris,
      I typically use a white flour of 13% protein, so it should work perfectly.

      Reply
  6. Eva

    22nd December 2024 at 7:54 am

    Hello Louise, would this recipe work with just the organic white and rye? Thank you so much, Eva

    Reply
    • Louise

      22nd December 2024 at 8:20 am

      Yes Eva, it definitely. It contains a lot of water as suggested in the title so I would dust your banneton basket with plenty rice flour to ensure it doesn’t stick.

      Reply

Leave a Reply Cancel reply

Your email address will not be published. Required fields are marked *

Recipe Rating


Last week was a busy one — I’ve been making th Last week was a busy one — I’ve been making the most of the wild mushrooms while they’re still around.

1. Buttery sautéed chanterelles with poached egg and sourdough crumbs
2. A blackberry and bay celebration cake — I adore these autumn flavours
3. Incredible seasonal colours
4. A coconut and raspberry cake
5. And a warming wild mushroom soup

I finished the week on such a happy note — a lovely Friday morning teaching how to make sourdough. 

How did your week go?

#seasonaleating #autumnkitchen #wildmushrooms #sourdoughlove #foodwriter #bakingjoy #celebrationcake #foragedflavours #autumnvibes #homecooking #slowfood #nordickitchenstories
Here’s the promised new bun shaping technique… Here’s the promised new bun shaping technique…

Just follow the Cardamom Bun recipe from my book, then shape them this way — it’s easier than it looks!

You can also use this technique for:

~ Nordic cinnamon
~ Chocolate tahini
~ Blueberry & cream cheese
~ Pistachio, lime & rose
~ Hazelnut butter & date
~ Tosca
~ Festive
~ Saffron, almond & orange

Pretty swirled buns every time. 

Recipe from ’Buns, Sweet and Simple Bakes’. 

📌Link in bio to purchase.

@quadrillebooks 

💛 #BunsSweetandSimple #nordicbaking #CardamomBuns #BunShaping #bakefeed #bakedfromscratch #nordickitchenstories
Crimson leaves underfoot, pears in the basket, and Crimson leaves underfoot, pears in the basket, and a Frangipane Tart cooling by the window. A quiet sort of weekend. How was your’s?

#autumnwalks #pearseason #frangipanietart #slowliving #bakingdays #autumnvibes #britishcountryside #seasonaleating #nordickitchenstories
Bookings for our Christmas Workshops on 5th and 6t Bookings for our Christmas Workshops on 5th and 6th December are now open!
The workshop includes making your own festive wreath or table decoration, cookery demonstrations of Christmas canapés and mezze-style sharing plates, and a two-course lunch with a glass of fizz.

📌See the link in our bio for further details and to book. Hope you can join us!

#creativechristmas#thingstodoatchristmas#christmasprep#festivecanapes #learnsomethingneweveryday#festivedecor#decorateforchristmas #creativeclasses#thingstodoinberks#festiveactivities#nordickitchenstories #cookham#marlow#maidenhead#flowerfarming #nordickitchenstories #flowerfieldscookham
Guinea Fowl Meatballs with Barley & Mushroom Risot Guinea Fowl Meatballs with Barley & Mushroom Risotto.

A winter warmer that’s full of flavour — swap Guinea fowl for chicken if you like!

300–350 g minced guinea fowl or chicken thighs
1 small courgette, coarsely grated
1 garlic clove, minced
½ tsp ground cumin
½ tsp ground cinnamon
 pinch ground allspice
pinch chilli flakes
Small handful parsley leaves, roughly chopped
Small handful mint leaves, roughly chopped
½ lemon, zest only
S & P to taste
* 1 tbsp olive oil (for frying)

🍚 Barley & Mushroom Risotto
100 g pearl barley, rinsed
1 small onion, finely chopped
1 garlic clove, minced
150 g mixed mushrooms, sliced
320 ml chicken or vegetable stock (approx., more if needed)
1 tbsp chopped parsley
30 g Parmesan, grated
1 tsp full-fat cream cheese
Knob of butter + olive oil (for cooking)
S & P to taste
Crispy fried sage leaves

3. Meatballs: Salt courgette, rest 20 min, squeeze dry. Mix with mince, garlic, spices, herbs, lemon zest, salt & pepper. Shape into 15 balls. Brown in a hot pan with oil, then finish in a preheated oven until cooked through.
5. Mushrooms: Fry in a separate pan until golden. Set aside.
7. Risotto: Sauté onion in butter/oil 10 min. Add garlic, cook 2 min. Stir in barley, toast 2–3 min. Gradually add warm stock, stirring until barley is tender (about 25 min).
9. Finish: Stir in mushrooms, Parmesan, cream cheese, parsley & seasoning.
11. Serve: Spoon risotto into bowls, top with meatballs & crispy sage.

Comforting, earthy & full of flavour.

#guineafowl #chicken #pearlbarley #comfortfood #seasonaleating #tasty  #healthymeals #dinnerinspo #foodpics #tasty #foodie #autumnal #seasonalfood #yummy #foodblogger #instafood #homecooking #cozyevening #delicious #nordickitchenstories
Back from nine unforgettable days in glorious Meno Back from nine unforgettable days in glorious Menorca where my son and daughter-in-law had their wedding celebration. 
Sunshine, wonderful food (the most delicious amberjack carpaccio on stories), breathtaking sunrises and sunsets… and so many precious memories made. And no, I didn’t make the wedding cake, beautiful as it was.

Now back to reality — autumn has definitely arrived and there’s lots to plan. The colours are changing, the air is fresh, and it’s my favourite time of year: cosy layers and crisp walks. It’s always lovely being away, but there’s nothing quite like coming home.

@sjbinissaidahotel 

#wedding #tietheknot #celebration  #family #minorca #balearicisland #spain #sunshine
Nordic kitchen stories logo

Sign up to receive my latest recipes by email

Copyright © 2025 · Louise Hurst · Privacy Policy · All Rights Reserved · Website by Callia Web