


Did you know that 4th October is Swedish Cinnamon Bun Day—Kanelbullens Dag? On this day, Swedes (and, it seems, the rest of the world) enjoy even more of these irresistible spiced buns than usual. It’s an easy date for me to remember since it’s also my niece’s birthday!
If you follow my blog, you’ll know I have several flavoured Swedish bun recipes (the Vanilla Buns are to die for!). However, I haven’t shared Cinnamon Buns using the tangzhong method until now. These sweet, cardamom-infused buns, filled with cinnamon butter and sprinkled with sugar nibs, have become my go-to recipe for their fluffy, light texture. Trust me, this simple extra step is worth it!
The tangzhong method, originating in East Asia, involves cooking some flour and liquid into a thick paste before adding the remaining ingredients. This technique creates soft, fluffy bread that stays fresh longer by pre-gelatinising the starches in the flour, allowing them to absorb more water.
My first choice is fresh yeast, but it’s nearly impossible to find unless purchased online, which takes away the spontaneity of baking. So, I use fast-acting dried yeast instead.
For best results, use organic flour if possible. I recommend freshly ground cardamom for the dough—buy seeds online and grind them with a mortar and pestle, as pre-ground cardamom lacks flavour. I also prefer cassia cinnamon, which is stronger than the Ceylon cinnamon usually found in UK supermarkets.
My first choice is fresh yeast, but it’s nearly impossible to find unless purchased online, which takes away the spontaneity of baking. So, I use fast-acting dried yeast instead.
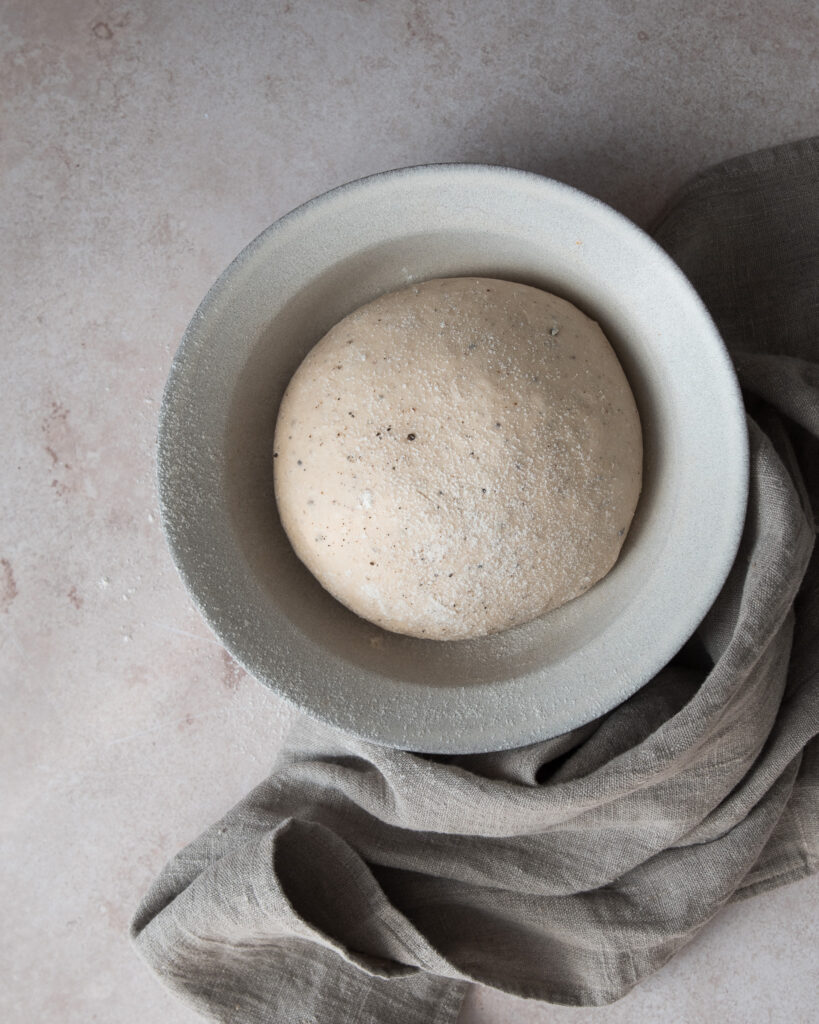
I also suggest letting the dough rise in the fridge overnight; place in a plastic box with a lid, with room for it to expand or in bowl in a large freezer bag and seal. This gives it plenty of time to rest, making it much easier to work with while cold. Just remember to keep the cinnamon butter at room temperature for easy spreading. If you’ve chilled the dough overnight, you can speed up the final rise by placing the buns in an oven (turned off) with a bowl of freshly boiled water nearby—no need to cover them.

Here’s a video on how to shape the dough. Happy baking!
Fluffy Swedish Cinnamon Buns
Equipment
- Rolling Pin
- Pizza Cutter
- 2 baking sheets line with baking paper
Ingredients
Enriched Dough
Tangzhong
- 15 g organic strong white bread flour
- 75 g whole milk
Dough
- cooled tangzhong
- 300 g organic strong white bread flour
- 135 g whole milk weigh this in grams
- 65 g unsalted butter diced & at room temperature
- 1 large egg lightly beaten
- 35 g caster sugar
- 5 g fast action yeast
- 1 ½ tsp freshly ground cardamom
- ¼ tsp fine sea salt
Filling
- 95 g unsalted butter room temperature
- 40 g golden caster sugar
- 1 ½ tbls cinnamon
To finish
- Beaten egg with the addition of a little milk
- 2 tbsp sugar nibs
Instructions
Tangzhong
- To make the tangzhong, Place the flour and milk in a small saucepan. Briskly mix eith a small balloon whisk, on a medium heat until it thickens and bubbles. Continue to cook for a few seconds. Remove from the heat, using a rubber spatular, scrape all the tangzhong into a bowl and cover. Once cooled to room temperature, it’s ready to use.
Enriched Dough
- Take the milk out of the fridge 30 minutes before you begin. Place the flour, tangzhong, yeast, cardamom, butter, sugar and salt in the bowl of a free standing mixer with the dough hook attached. Add the milk and 40g of the egg (save the rest for glazing) with the machine running. Mix until a dough forms on a slow speed. Once the dough has come together, increase the speed to medium/high and work the dough for another 10-12 minutes or until it looks shiny, feels smooth and elastic. To determine if the dough is ready for proving, perform the windowpane test: pinch off a small piece of dough and gently stretch it until a delicate, translucent layer forms in the centre without tearing. The dough should be thin enough to allow light to shine through. Scoop it all up into a bowl with a dough scraper.
- Cover and place in the fridge to prove for up to 14 hours or prove at room temperature for 50-60 minutes or until it's doubled in size.
Filling
- Combine all of the filling ingredients and set to one side.
- Preheat the oven to 190°C fan. knock back the dough. On a lightly floured surface, roll the dough out into 75 x 20cm, Lift it a few times during rolling to release the tension in the dough. Spread the cinnamon butter all over on the surface of the dough with an offset spatular. Fold the dough in half, then roll again gently to make an approximate rectangle measuring 40 x 23cm.
- Cut the dough into roughly 23mm wide strips, I find a pizza cutter great for this job. Twist each strip several times, wrap around your 2 fingers then tuck the ends underneath. Continue with the rest of the strips.
- Arrange the buns on a baking sheet lined with parchment paper (if they’re too crowded, use 2 sheets), keeping as much space between them as possible. Cover and prove for 50-60 minutes or until doubled in size.
- Brush the buns with beaten egg and a little milk and shower with sugar nibs. Bake for 10-12 minutes or until golden brown. Cool on a wire rack.
- Best eaten on the day of baking however they freeze incredibly well. Once defrosted, warm in a medium oven for 6-8 minutes.
 Fermented Green Tomatoes
Live in Norway. Have both bought and myself baked countless number of cinnamon buns and have no reservations about saying that your dough recipe is the absolute best! We also made the cardamom and chocolate buns, which were incredible. This dough is so soft and fluffy, and deliciously buttery. Thank you for a fantastic recipe!
Katie, I’m delighted to hear this and thank you for taking the time to comment :-))
Loved this dough. Very soft and fluffy. Not too sweet. I formed them into cinnamon rolls as I was pressed for time.
Very happy to hear you like this recipe. You can’t beat a traditional cinnamon roll :-))
If you wanted to have them ready to bake early in the morning, could you leave them in the fridge already shaped, then take them out to prove first thing? Would you shape them on the day of making the dough in this case?
Hi Kay,
I would suggest doing the first prove at room temperature, then shape, cover and put in the fridge overnight. They will take a while to prove so put them in the oven, switched OFF with a bowl of boiling water at the bottom, this will speed things up. Then bake as instructed.
Hello!
Those look amazing 🙂 I want to try this recipe but I was wondering if l could leave the dough in the fridge for longer than 14 hours. Thank you!
Hi Melissa, I would say you could leave the dough up to but no longer than 20 hours.
Hope this helps.